Get the app, create your account, and set up your first node.
Quick Start - node.you
This guide gets you from zero to your first node in a few minutes: get the app, create an account, create a node, and make the app yours.
Get the app
The node.you client is one app that runs everywhere:
- Web: open node.you in your browser. The app runs entirely on your device.
- Android: install node.you on Google Play.
- Desktop: build from source. See the repository for instructions.
All three are the same app with the same features, so the steps below apply on every platform.
Create your account
The app opens on the Start screen.
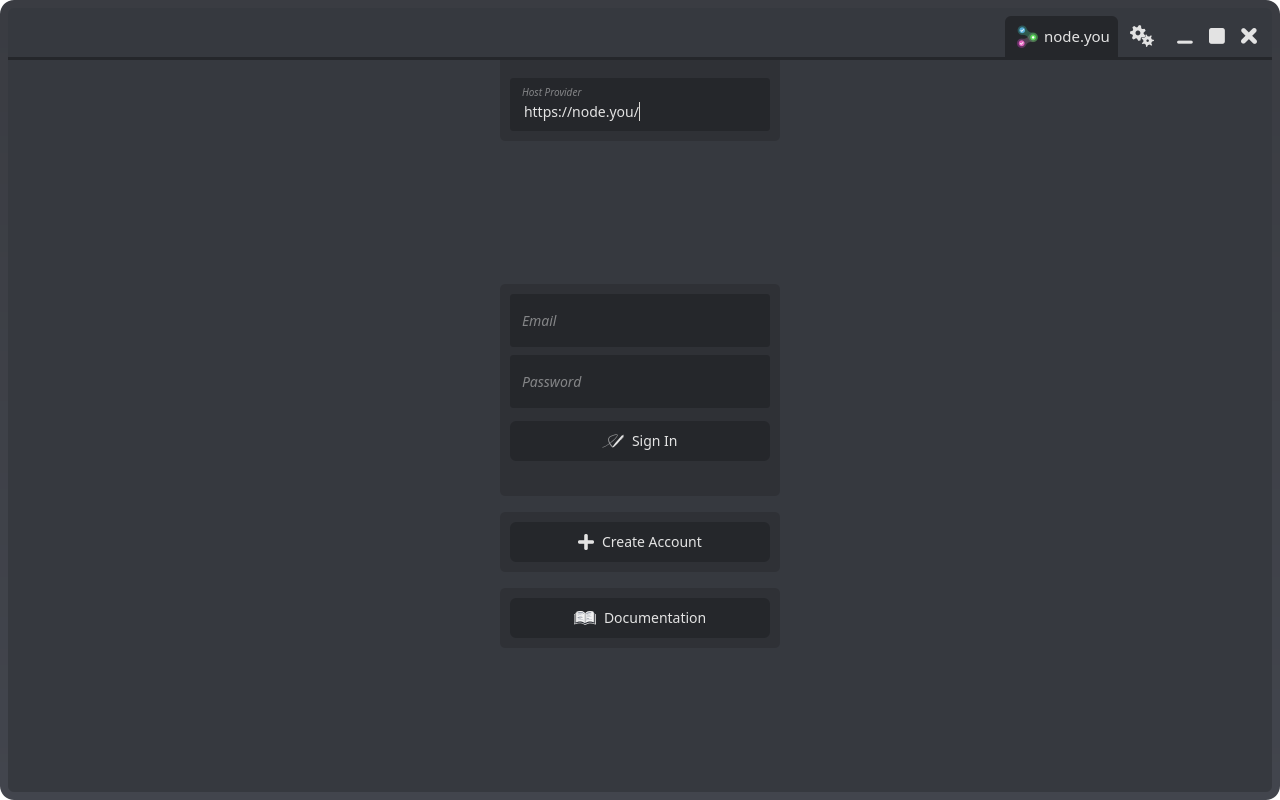
Select Create Account. Fill in your email and password, read the linked Terms of Service and Privacy Policy, check the confirmation box, and select Get started. You are signed in automatically and land on your account dashboard, where you manage your nodes and services.
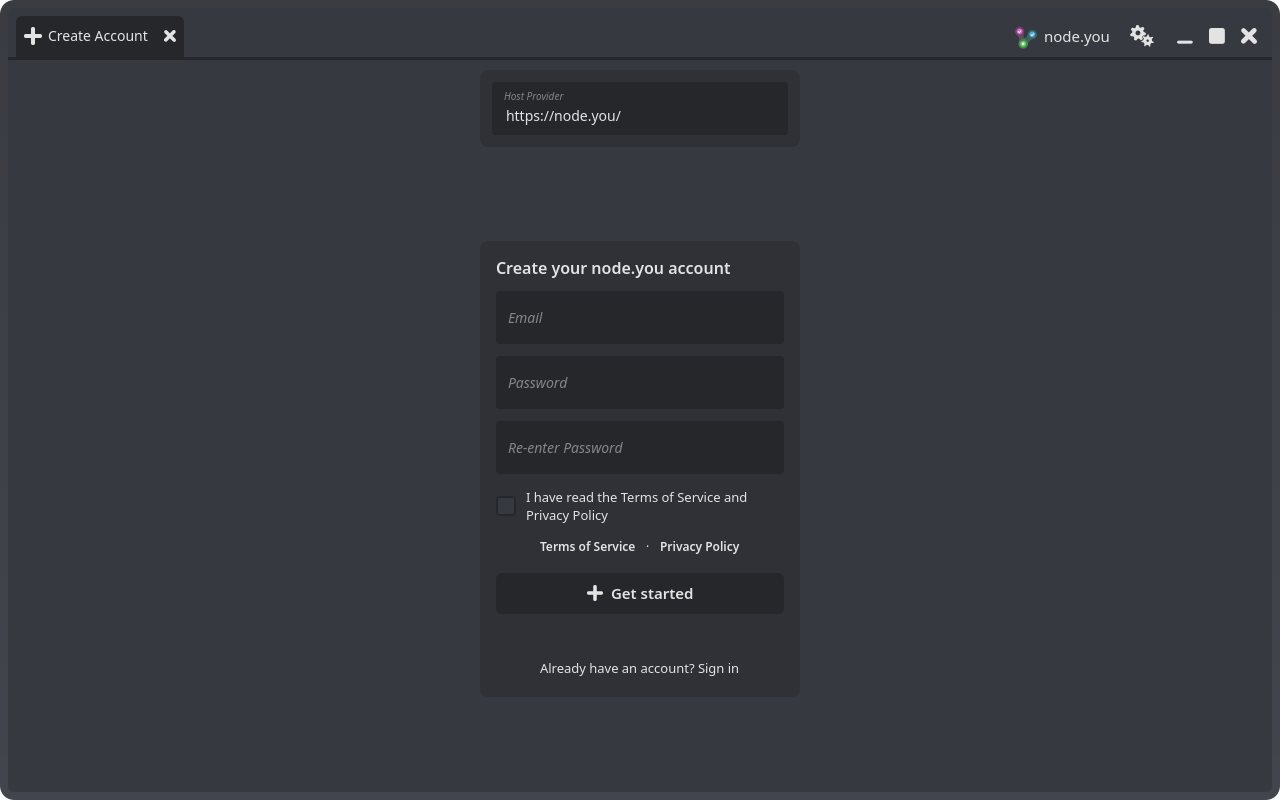
On desktop and Android, the
Host Providerfield at the top of the Start screen lets you point the app at a self-hosted coordinator instead ofnode.you.
Create your first node
You need a node to interact with others. The dashboard has two tabs: Nodes and Services.
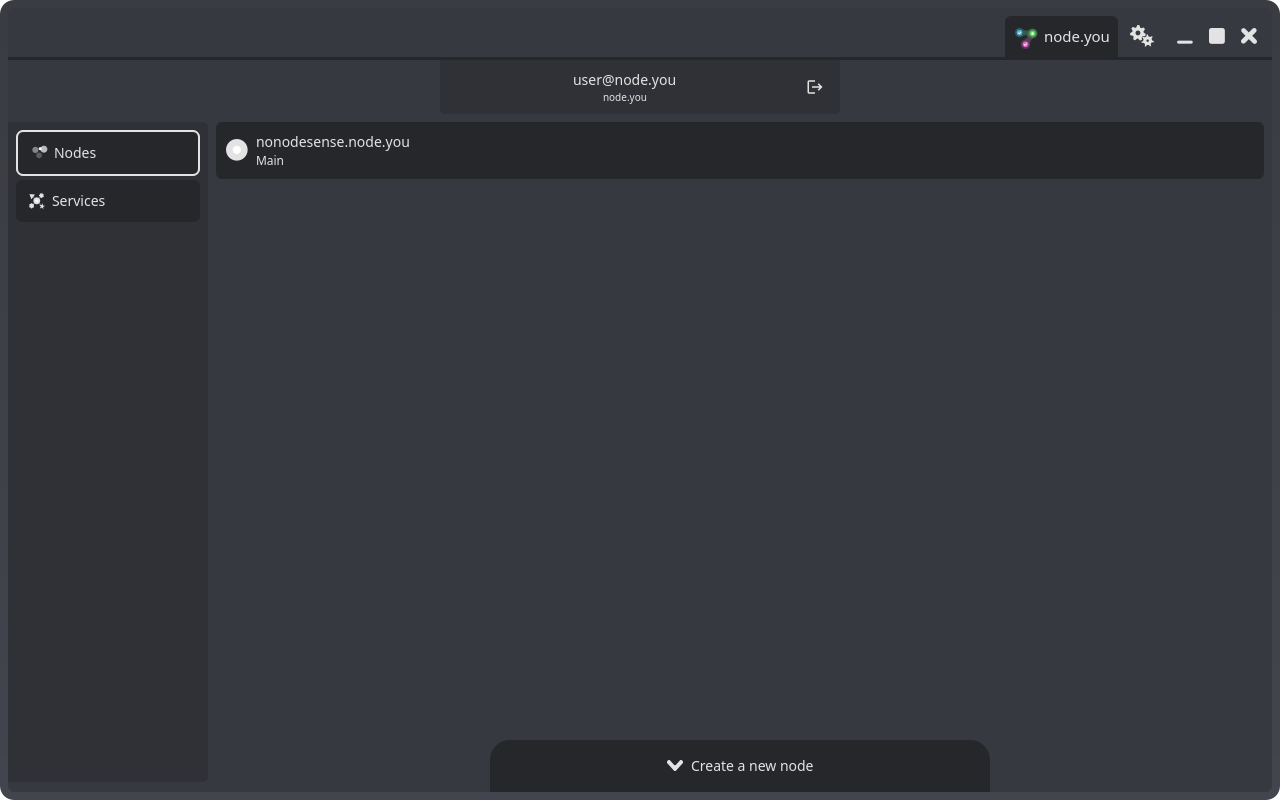
On the Nodes tab, select Create a new node at the bottom.
Give your node a name. Your name gets paired with your provider's domain, like striker.node.you. This is your node URL, the identity you share with others. Availability is checked live as you type.
You can also give your node a label to describe how you intend to use it. Some examples are 'Personal', 'Business', 'Creator', 'Journalism', etc.
Finally, decide who should secure your node's private key: Host or Self. If you're unsure, keep Host; you can read about the difference in the nodes and keys guide.

Select Confirm, then click your new node to open it. A node opens in its own tab with three views: Profile, Feed, and Contacts.
Make it yours
Open the settings menu with the gear in the title bar:
- Appearance: switch themes by tapping a theme card. Dark, Light, and a set of accent themes are bundled.
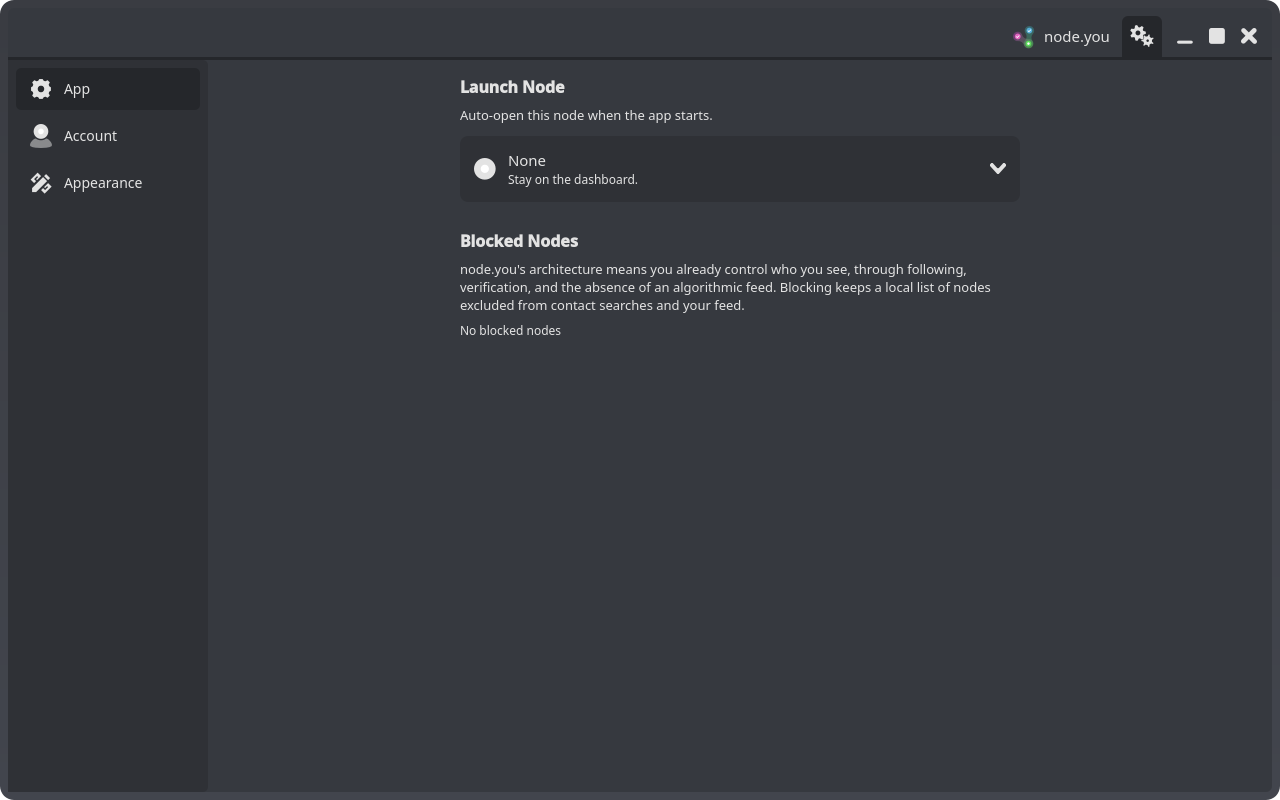
- App: set a
Launch NodeandLaunch Viewto have the app open straight into a node's feed or profile at startup.
What next?
Now that you have a node, you can: