Follow these steps to build Docuriser, create your first website, and find your way around the configurators.
Getting Started - Docuriser
This guide takes you from a fresh clone to a building website: install Docuriser, create a site, and find your way around the two configurators.
Step 1 - Build Docuriser
Requires CMake 3.22+, a C++17 compiler, Qt 6 (Core, Gui, Widgets, Svg, Network; Multimedia optional), and libclang from any LLVM install. The Vortex framework is a submodule, so clone recursively:
git clone --recursive https://codeberg.org/HuntrSoftware/docuriser.git
cd docuriser
cmake -B build
cmake --build build -j
Both executables land in bin/: docuriser-desktop (the app) and docuriser-cli (the command-line companion; the app also uses it internally for site builds, version builds, and the versions table, so keep the two together).
Step 2 - Create a website
Launch bin/docuriser-desktop. The app opens on the Home pane, which offers exactly two things: New Website and Open.
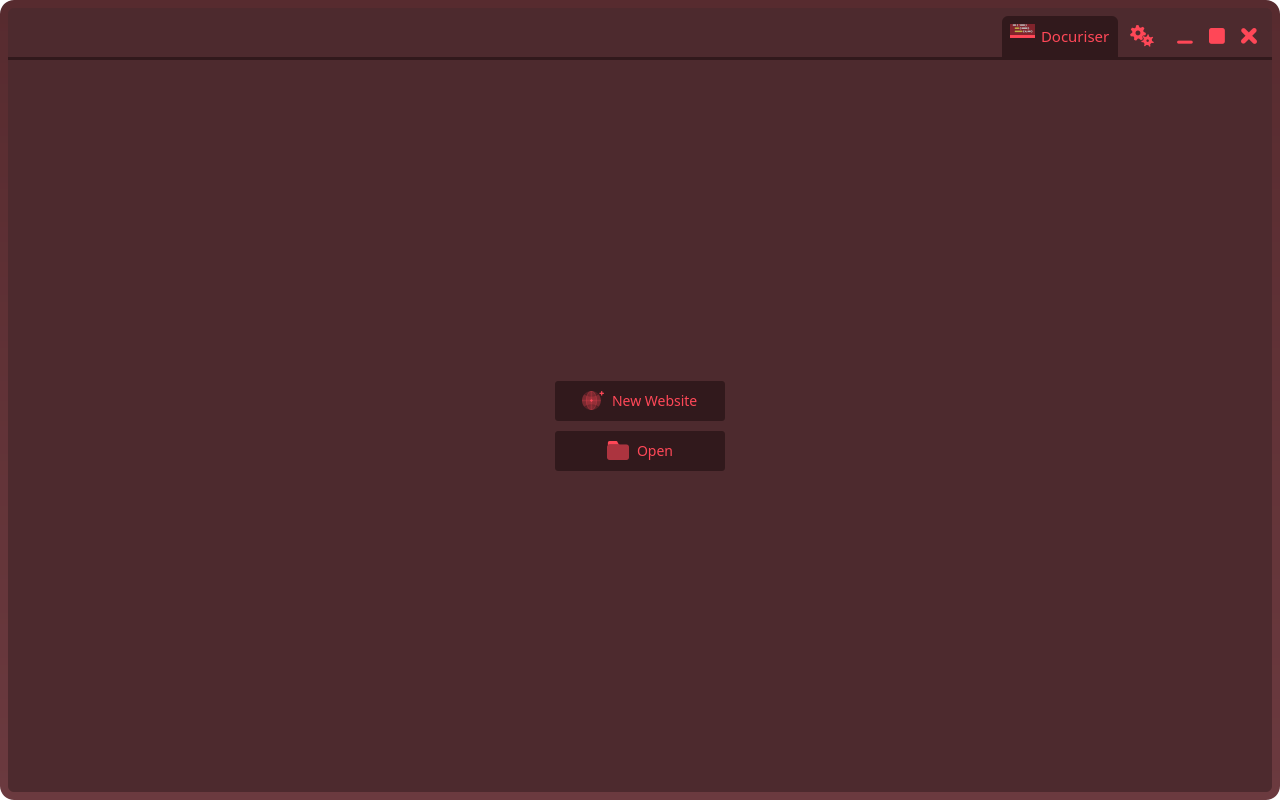
Click New Website. Give the site a title, Browse to the directory that should hold it, and click Create.
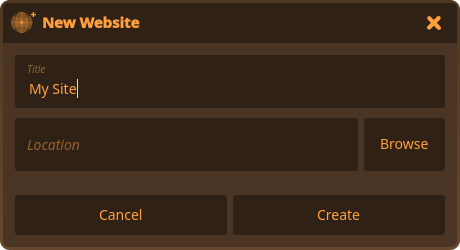
This scaffolds a working starter site: a .docuriser-site config seeded with your title, a default description, a copyright line, an output directory (./output), and a default home layout: the description shows first, with your projects and socials below once you add them. The new site opens immediately in a configurator tab.
If you prefer the terminal, docuriser-cli site init ./my-site scaffolds the same starter; see the CLI guide.
Step 3 - Tour the site configurator
Every config you open gets a tab at the left of the titlebar; all tabs share the configurator pane, and the Docuriser tab on the right takes you back Home. At the top of the pane, two views: Editor (the panels described below) and Text, a raw JSON editor with live linting and its own Save button, which covers any config key a panel doesn't.
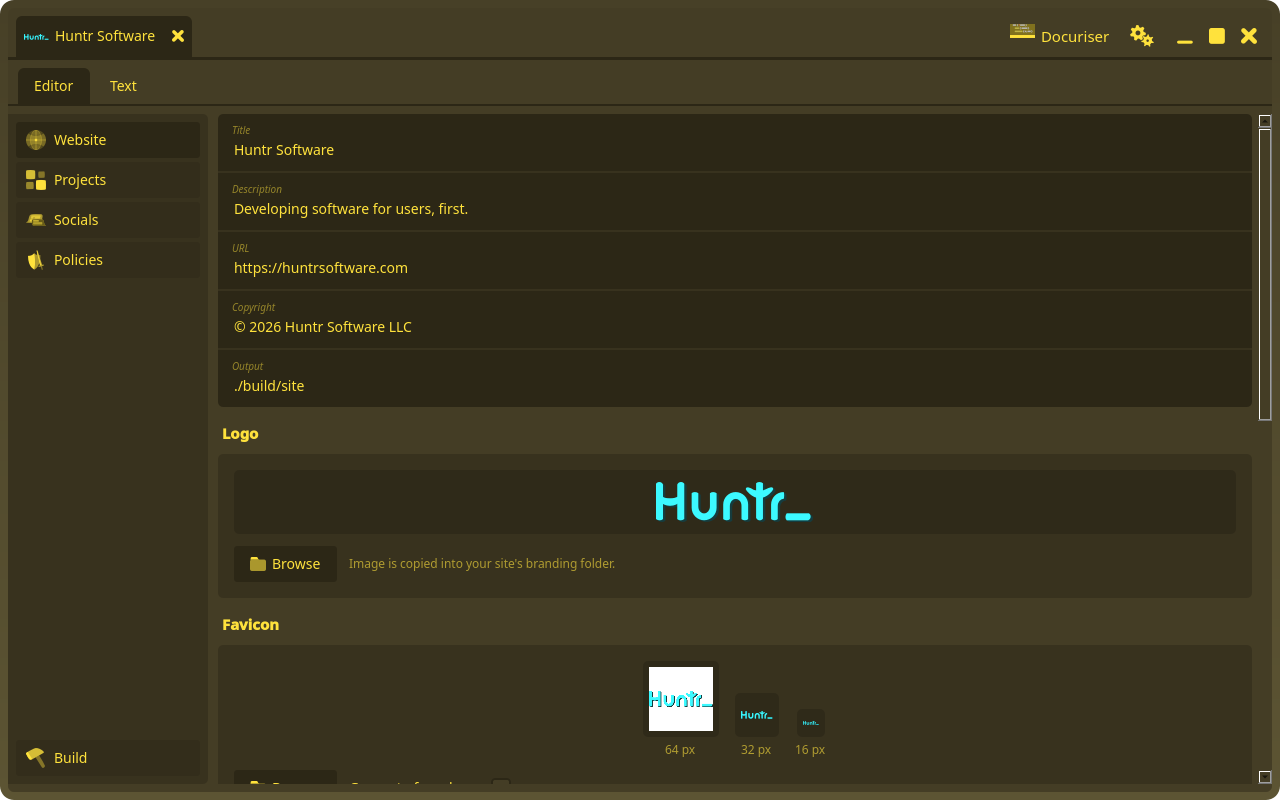
The site configurator's sidebar walks the site top to bottom:
- Website: the site's identity: title, description, URL, copyright, output directory, logo, favicon, and the browser-tab branding. See the websites guide.
- Projects: the projects registered on this site. See the projects guide.
- Socials: your social links, rendered as cards on the site's socials page.
- Policies: Markdown-backed policy pages (privacy, AI, terms…).
- Build: builds the site and shows the streaming log.
(Project licenses live with each project, not the site: the project configurator's License panel points at the license file in the project's source.)
One habit to learn once: the small form fields autosave (edits persist automatically, a moment after you pause typing), while the file editors (README, license, topics, policies, and the Text view) have an explicit Save button and warn before anything would discard unsaved text.
Step 4 - Open an existing config
Open on the Home pane accepts both config kinds, .docuriser-site and .docuriser-project (they're dotfiles; the picker shows hidden files). Opening a site is the usual route: from its Projects panel, clicking a project card opens that project (with its whole family, if it has one) in a tab of its own. Opening a project config directly works too.
Next steps
Fill in the site's identity and branding in the websites guide, then add your first project in the projects guide, write its guides with the topics guide, and tag a release to publish its documentation with the versions guide.